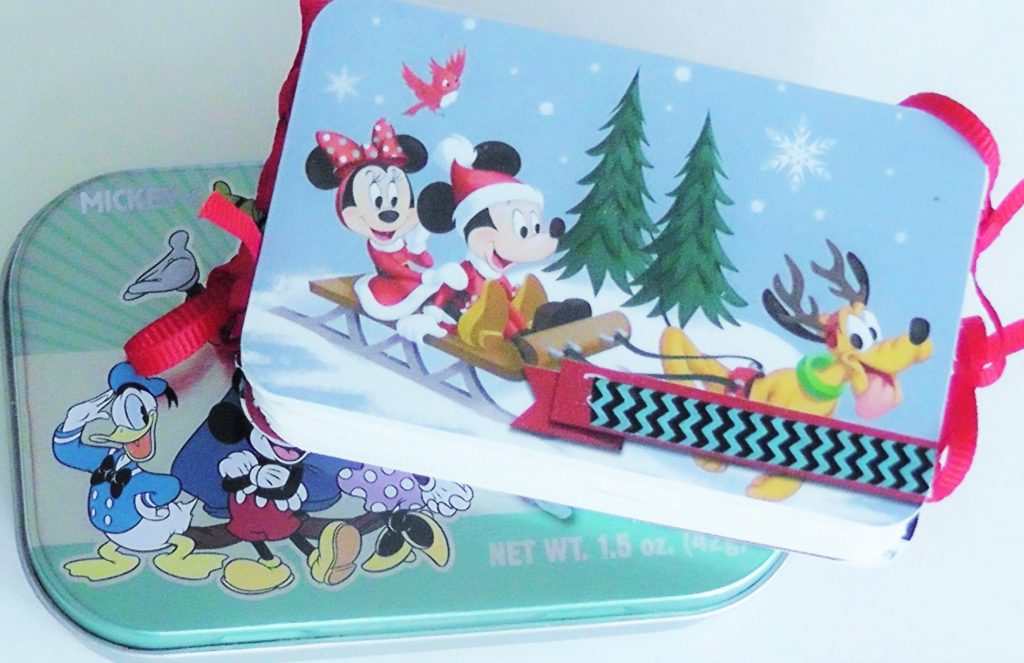
I created this adorable mini accordion book with two giftcards and they fit perfectly inside a mint tin box
Size of the finished book is 3 1/4 by 2 inches.
The materials for the mini book are:
- Ruler
- Pencil
- Scissors
- Decorative Paper
- Glue
- 4 pieces of Ribbon, three times the width of the book
- 2 Gift Cards, one is going to be the front cover and the other the back cover
- 1 mint tin box to put the book inside
- Cut a long strip of paper the heigh of the final book and for the width multiply the size of the card width by the number of pages that you would like your book to have. Plus, you need to add a 1/4 inch to each end of the paper and fold these end tabs.
- Once you cut your paper, use one of the gift cards to mark where you need to make the folds. Make the marks just a little bit smaller that the gift card. Score and accordion fold where you put the marks, alternating between folding pages over and under.
- If the paper is not long enough, cut another piece of paper and use the 1/4 of an inch tab to adhere both papers together. The second paper needs to have a 1/4 inch tab at the end. It’s very important that the finished accordion has 2 tabs one at the beginning and one at the end.
- To match the corners of the cards, I use a corner punch to make the corners round. You can also use scissors in this step. I use the 1/4 inch corner punch.
- Take the gift cards and mark the position of the ribbons using a permanent marker. I marked them 1/2 inch from the top and 1/2 inch from the bottom.Now, cut four pieces of ribbon three times the width of the gift card. You will be able to tie the book with the ribbons. Take the cut ribbons and glue two of them to the back of each card, leaving the same amount of free ribbon at each side of the card. Let them dry.
- Cut two pieces of decorative paper the same size as the gift cards. Round the corners
- Attach the accordion book to the covers by gluing the front tab to the edge of one gift card. Repeat the process with the second tab and card.
- Take the decorative paper and glue them to the back of each card. Make sure to cover the back of the card with glue. Take a scrap piece of paper to protect the pages of the book. Do the same with the other side. Let it dry.
- Now you have a double sided book with ties in both sides. Keep one side tied when using the front pages of the book. When you finish, you can tie that side and untie the other side in order to use the back pages.
I will be using this book to draw or paint something special each day of December. I can put my book inside the tin and bring it with me.
Here is the video: